Stamping Sunday Blog Hop – Darling Label
![]()

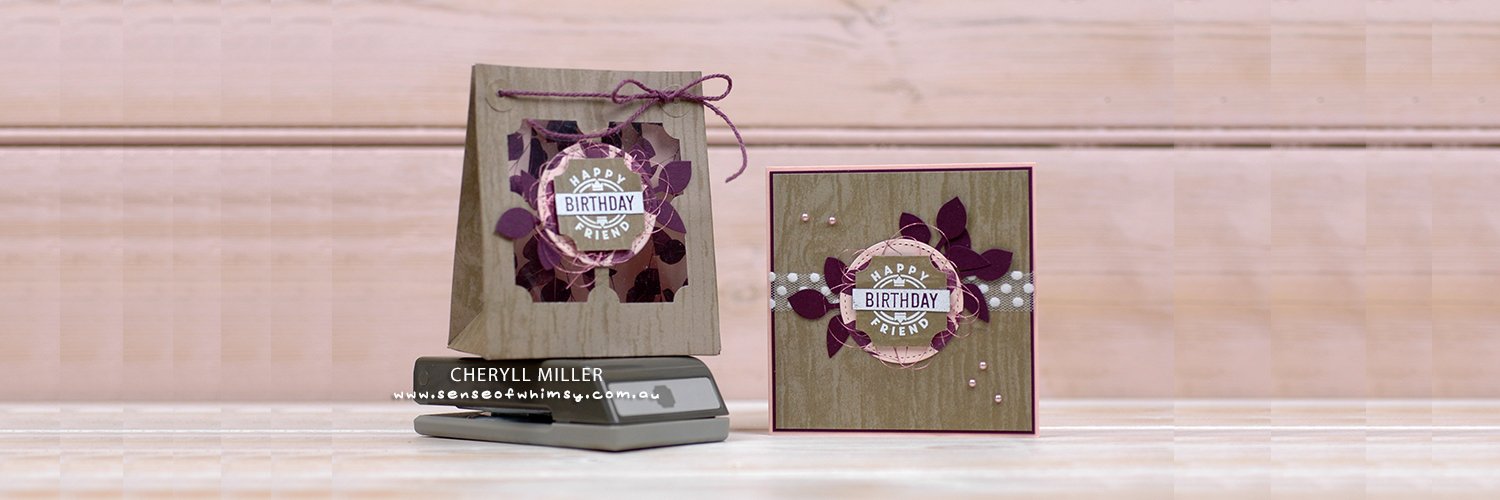
Welcome to my blog on this second sunday of July … this is Stamping Sunday Second Sunday team’s monthly blog hop hosted by Sara Levin, the Artful Inker. Today we are featuring The Darling Label Stamp Set and Punch which come in the Darling Label Punch Box (146885 on page 44 of the Stampin’ Up! Annual Catalogue).
Darling Label Punch Box
 This darling box includes the tools you will need to get started with stamping if you are a beginner stamper. Just add some cardstock and adhesive and begin creating. Keep your supplies handy in this good sized box.
If you are a seasoned crafter, this is a great gift for a new stamper … just add some cardstock (cut into folded cards if you really like your lucky new crafter), envelopes and adhesive.
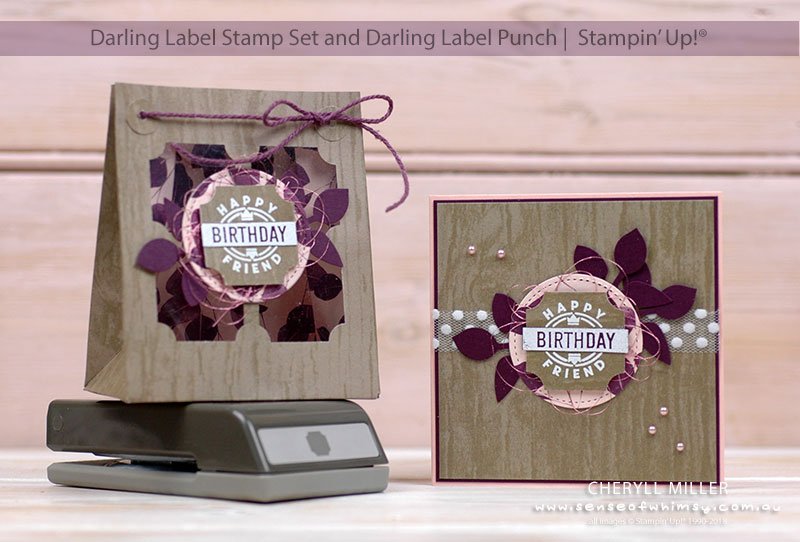 The gift bag is created with the Gift Bag Punch Board and Nature’s Poem Designer Series Paper. The Darling Label Punch is used to create this little peekaboo window in the front of the gift bag.

And the little square card matches …. with the addition of some of the Polka Dot Tulle Ribbon and Artisan Pearls.

Creating the Window
Normally, a window in a regular layer (for a card for instance) can be created with a punch by punching all the way around the layer. The maximum space between the edge of the card and the Darling Label Punch is 2cm, so you would know that the maximum size of the layer would be twice the width of the punch element + 2cm for each side = 11cm square maximum layer size.
However, the gift bag provides a challenge as placing a window in the front of the bag means there is not clear sides all the way around. I have made the height of the bag suitable to accommodate the window …. to make an 11cm high bag, you will need to cut the original sheet of paper to 14.3cm high x 29.5cm. And the window will need to be punched in what is normally the back panel of the gift bag.

Once the window is cut, I adhered two narrow strips of Nature’s Poem Designer Series Paper across the cut out connecting those little semicircle nodes. This gave me a surface on which to adhere the layered greeting piece. I could then adhere a panel of clear window sheet inside the bag to seal the front of the bag. This also helps stabilise the layered element.
Embossed Layers
The greeting itself has been heat embossed with white embossing powder twice, once onto the Nature’s Poem wood look paper and once onto Blackberry Bliss cardstock. Then the word “Birthday” has been trimmed out of the Blackberry piece and adhered over the top of the second embossed greeting. The darker colour showing through the word birthday is a very subtle element that has a big effect in making the word really pop.

The Stamping Sunday (second Sunday) team have more great ideas for you using the Darling Label Stamp Set and Punch. Here is the full list of hop participants … visit them all and be inspired.
Thanks and cheers,
Cheryll
|
$10.50
|

Gorgeous projects. I love the punched out aperture. Fab idea! TFS x
Hey Mikaela … we miss you! xxx
Dear Cherryl,
I love your projects, especially the “look-through-bag”..
Thanks so much Manuela … yes, I had some goodies in the bag originally so you could see what was in the bag. But it looks so pretty showing that wonderful Designer Series Paper, I have decided that I will put a very small gift in the bag so the paper shows through, not the gift! 🙂 xxx
Wow! These projects are awesome Cheryll, loving the colours xx
Thanks so much Sharryn! Yes, they are your colours! 🙂 xx
Oh Cheryll, this is a beautiful card and gift bag you are such a talented lady xxxxx
Thanks so much Colleen! xxx
I love the little peekaboo windows and that you set the gift bag on the punch for that photo. Well done Cheryll
Thanks Ashley …an alternate use for the punch! 😉 Haha! xxx
OMGoodness Cheryll! I simply adore this set! The window in the bag showcases that DSP in such a way it took my breath!
Thanks Kim …. I did have some paper shred in the bag, but it is so pretty showing through the window! Maybe a gift bag for a flat gift card, just so you can see the paper on the inside! 😉