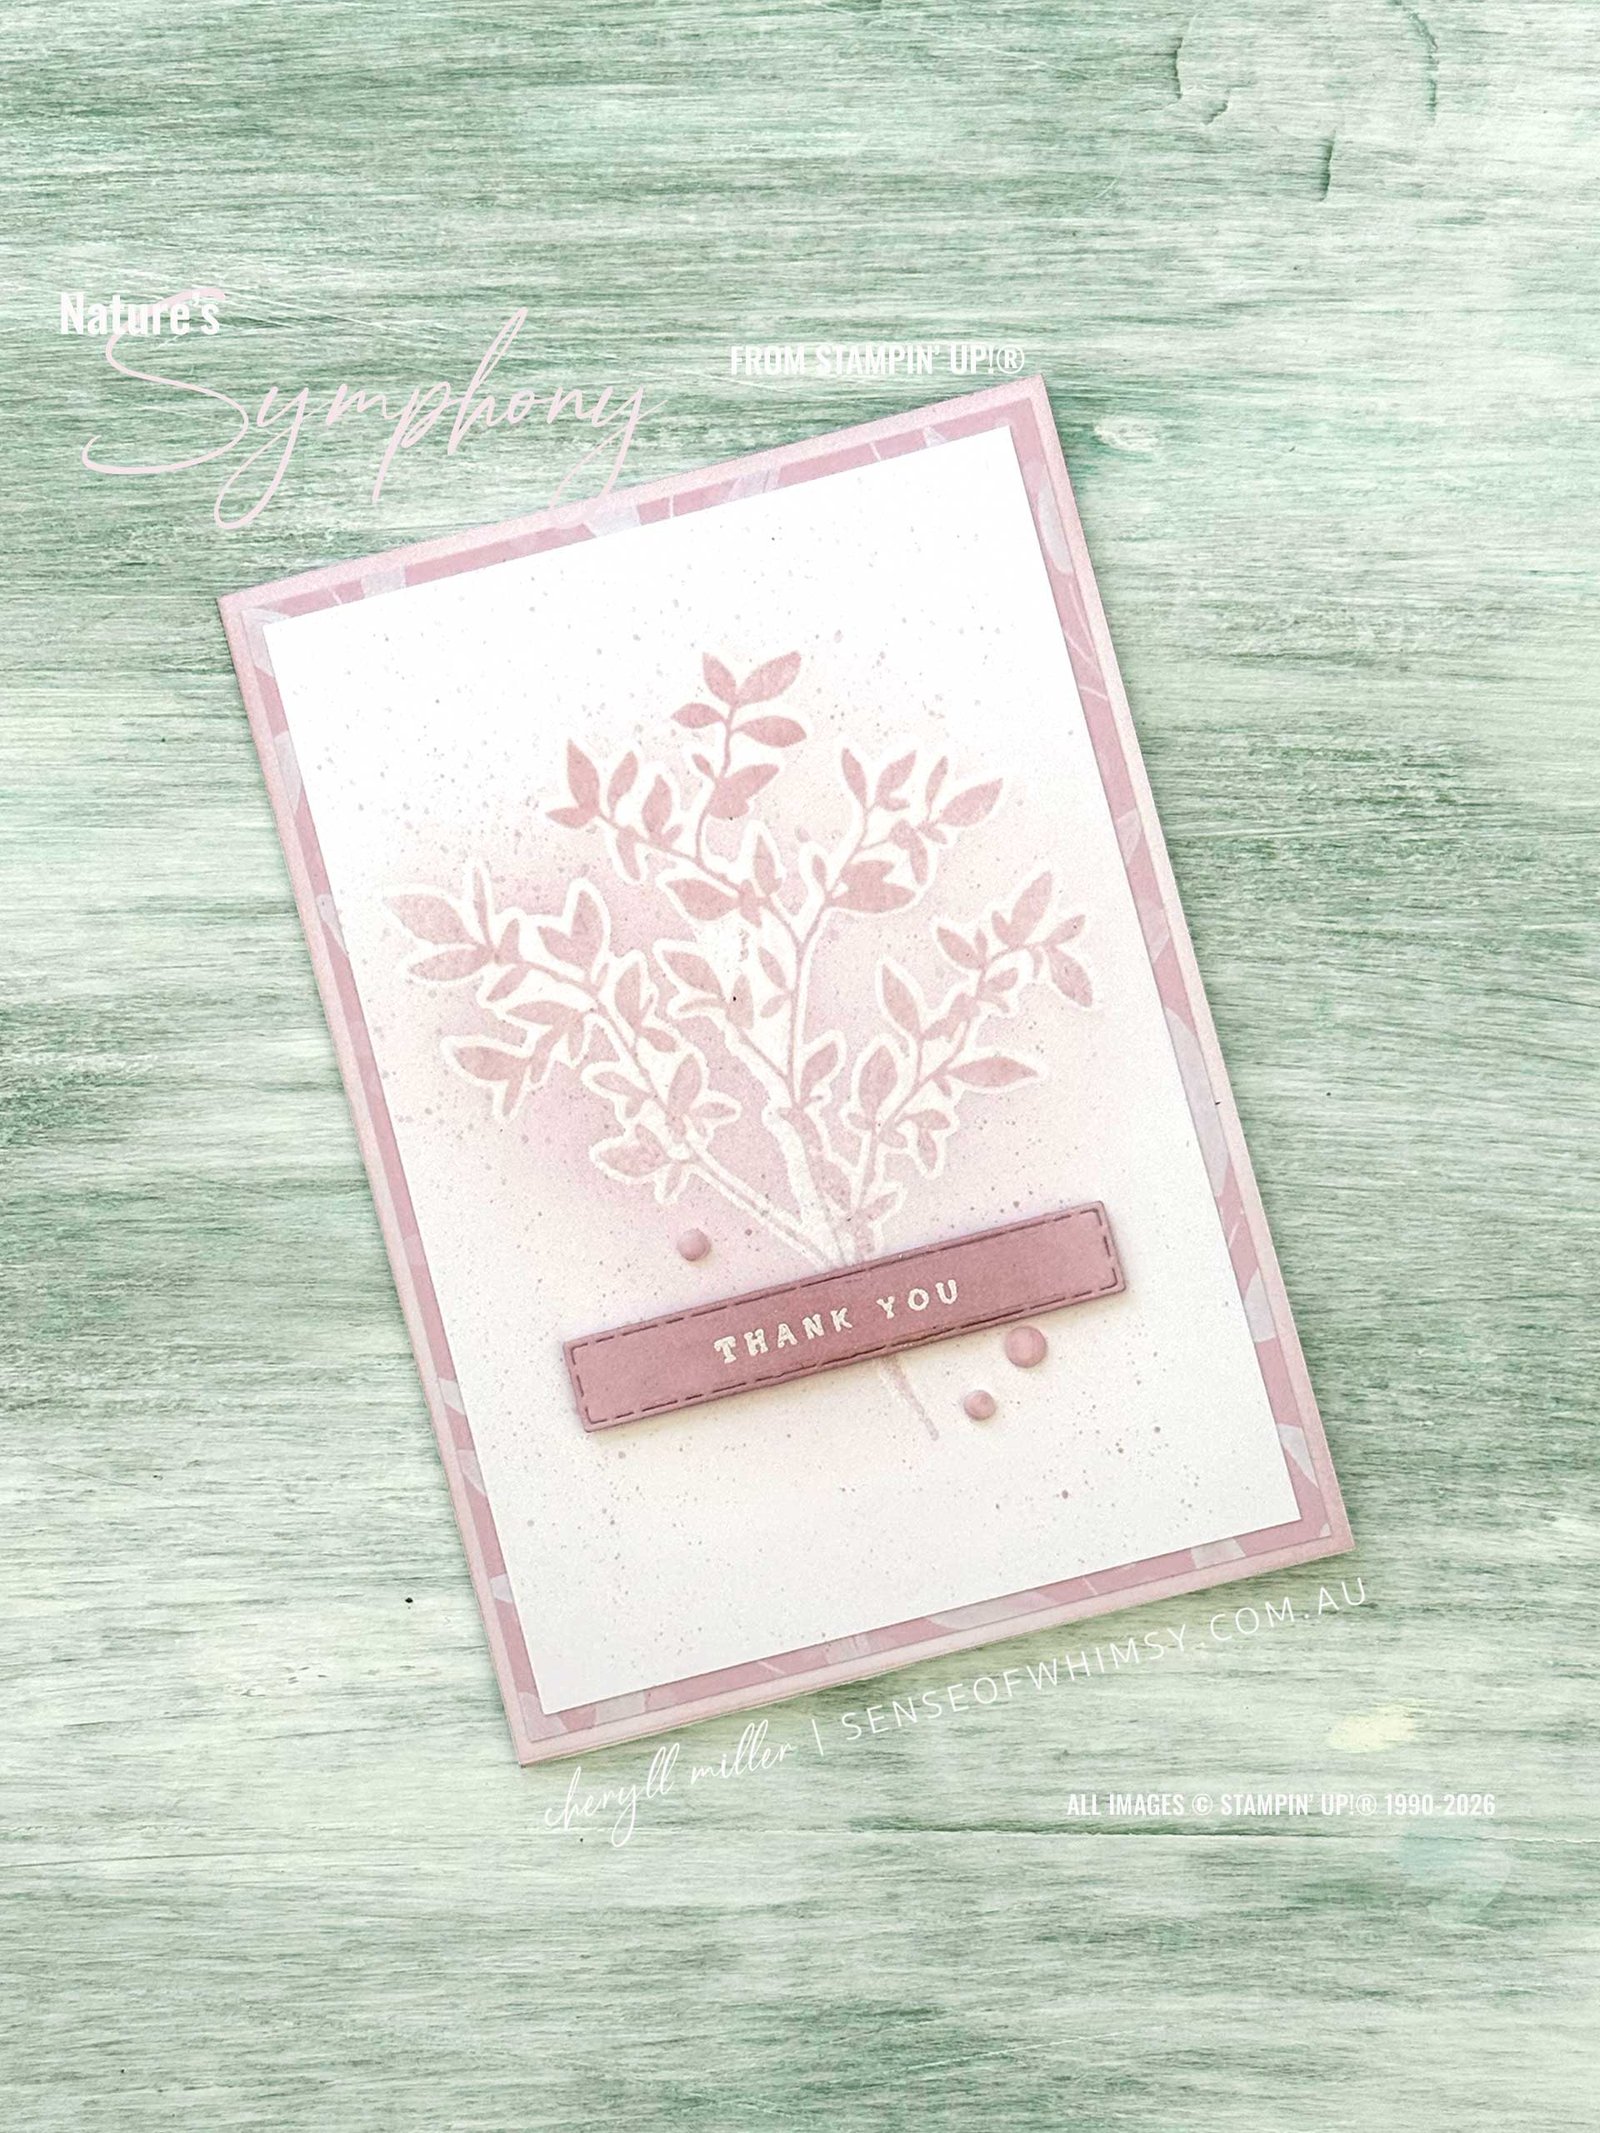
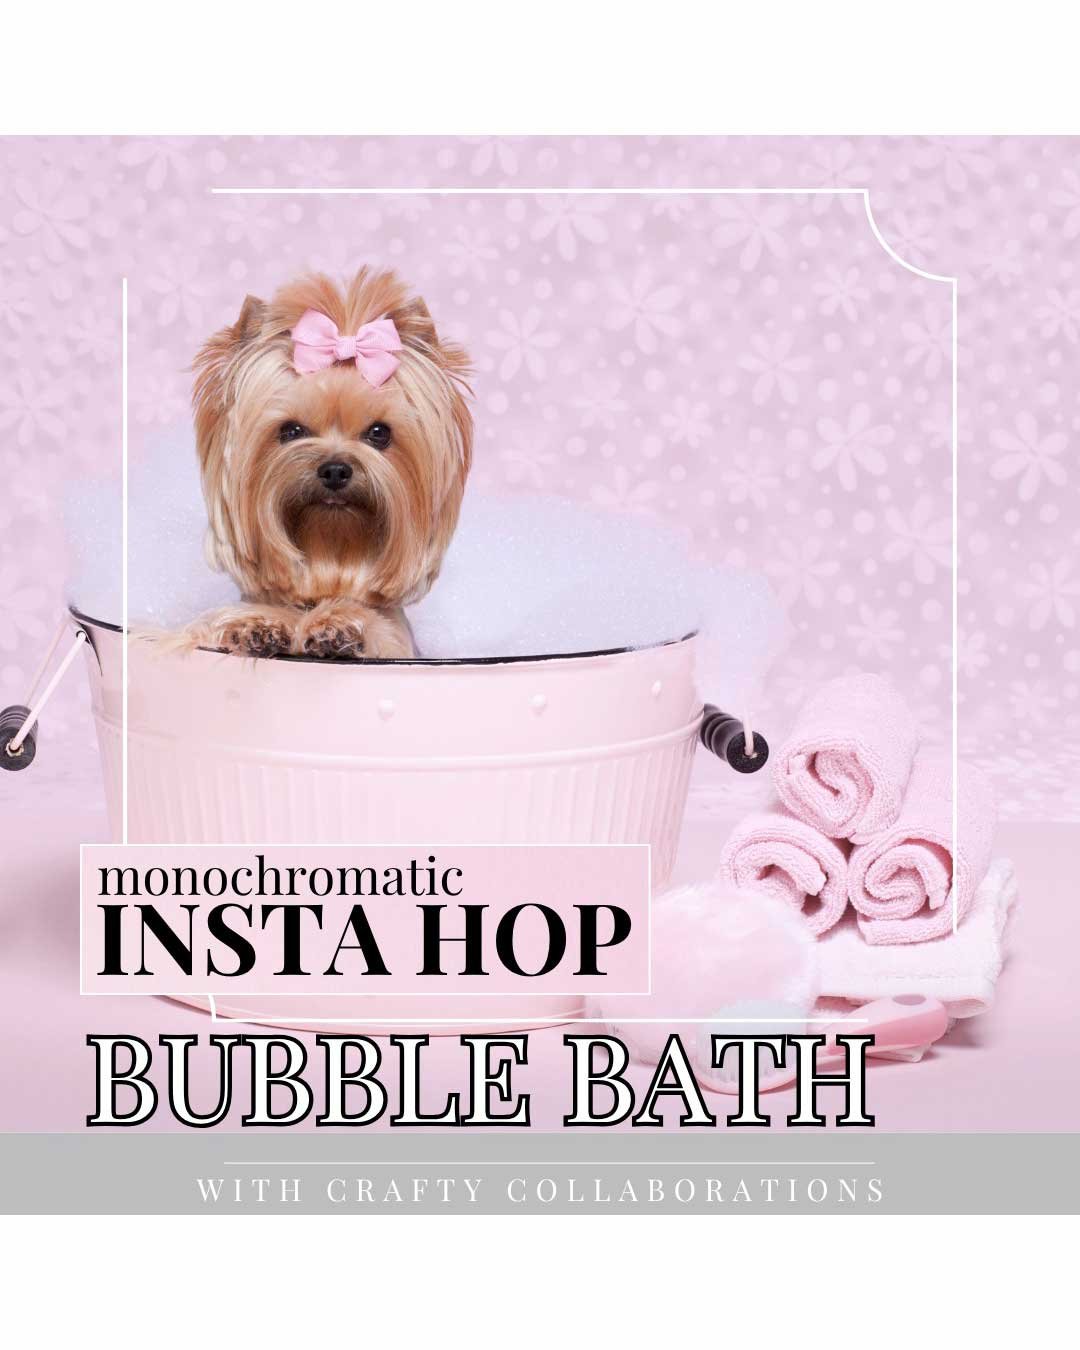
Natures Symphony Bundle meets Bubble Bath: Crafty Collaborations Instahop
![]()
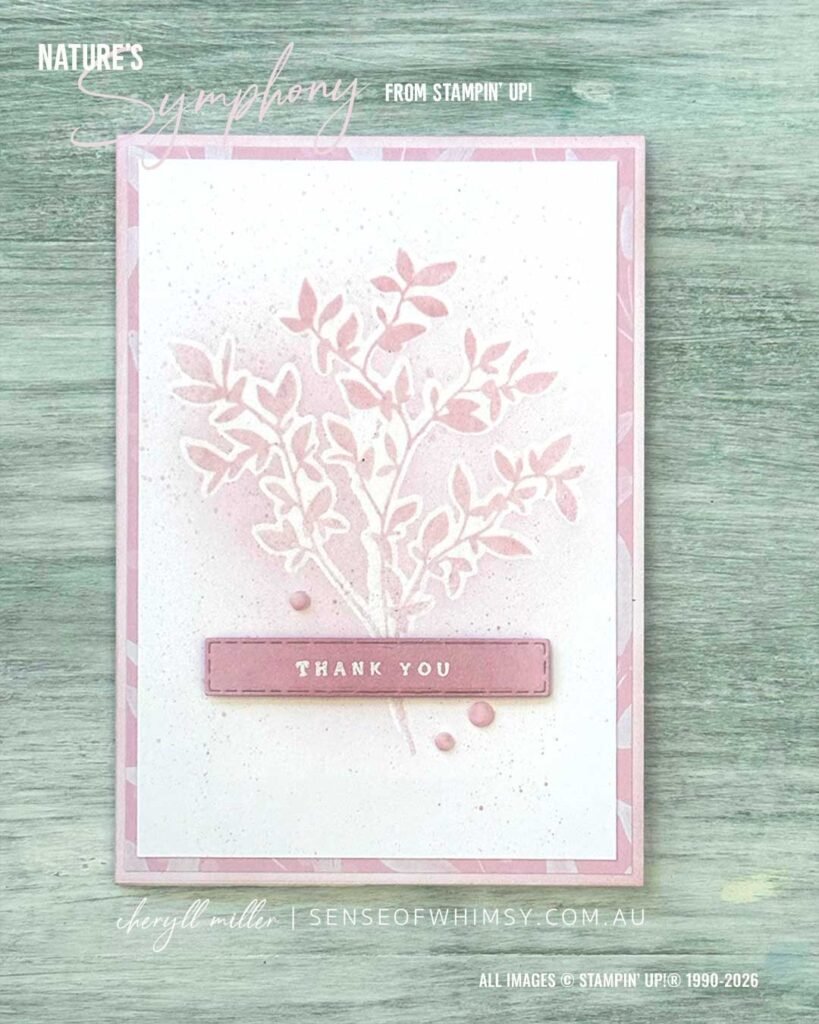
I’m participating in an Instahop with the Crafty Collaborations crew this week. It’s a monochromatic challenge and we are giving some love to the very subtle Bubble Bath shade from Stampin’ Up!.
And I am using a very “non-Bubble Bath” stamp set and die bundle today … Nature’s Symphony (in the new Jan to Apr 2026 Mini Catalogue from Stampin’ Up!).
Nature’s Symphony Bundle…
Emboss Resist Halo Effect …
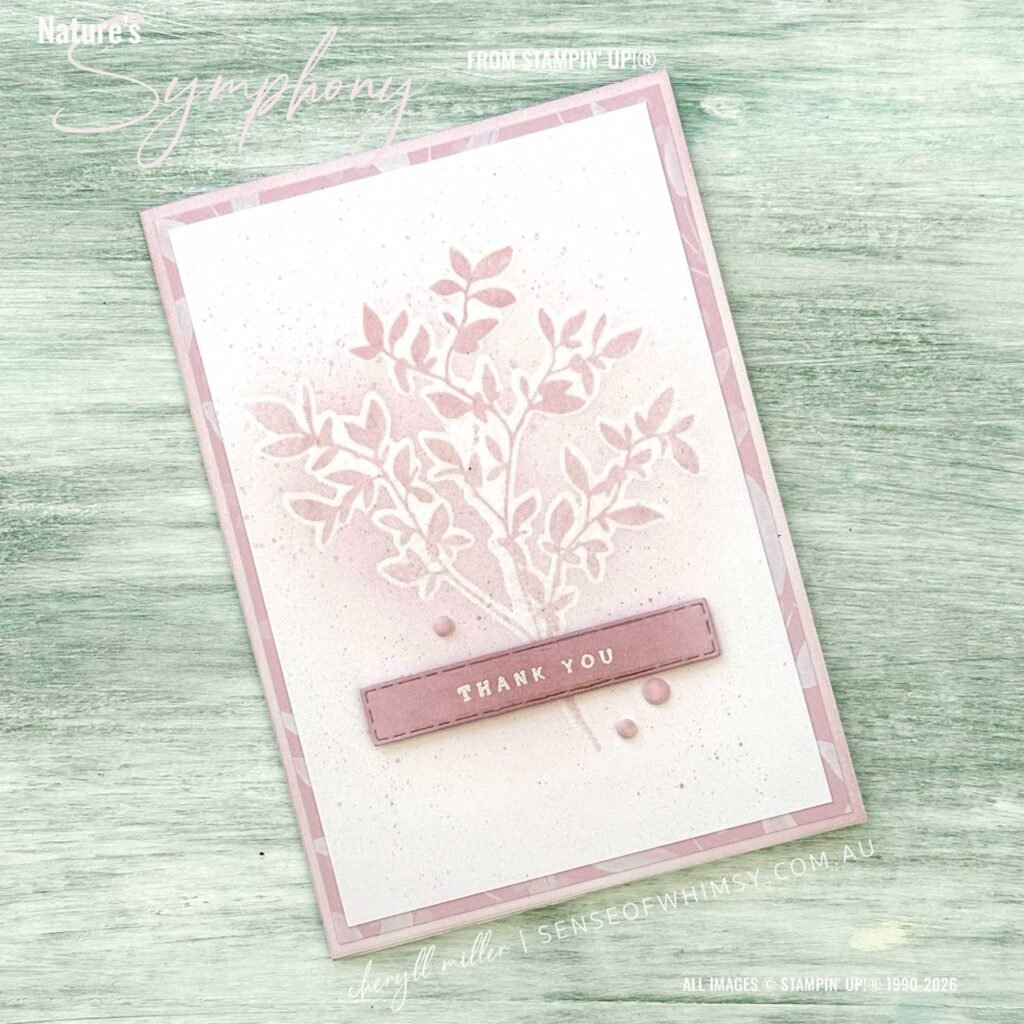
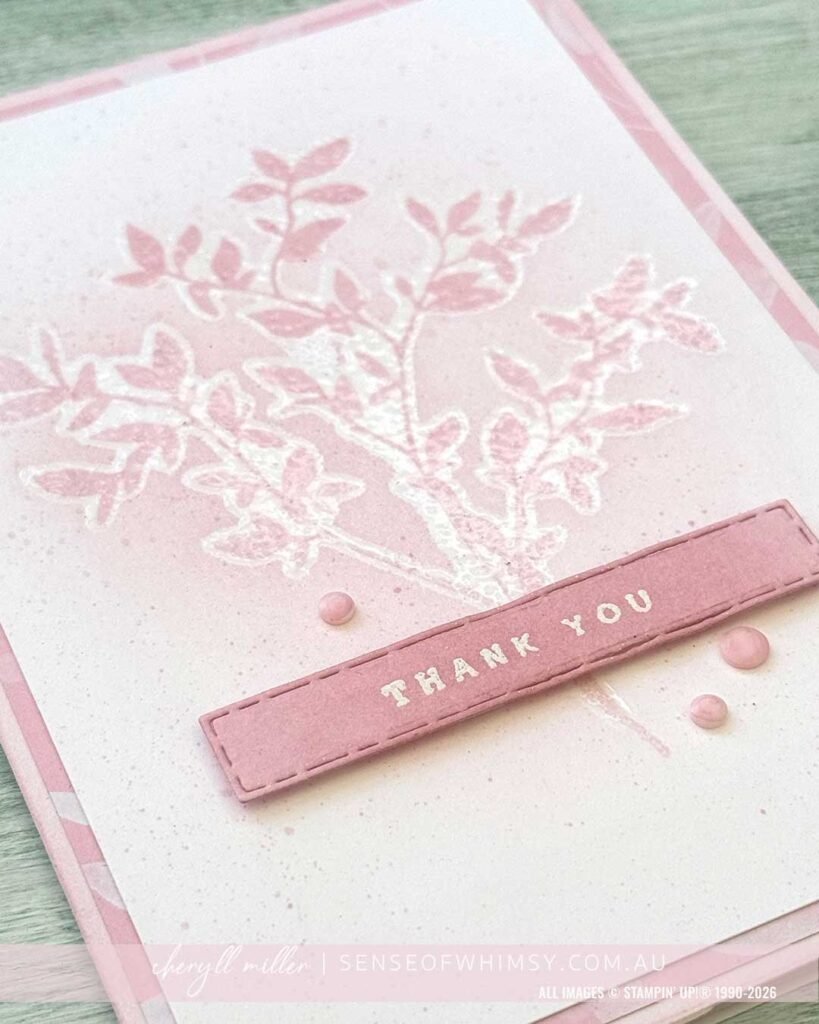
For this card, I played a little game of “waste not, want not.” Instead of tossing the leftover piece from the leafy die cut used on another project, I used it as a stencil over my stamped foliage. A gentle dab of Versamark through the die-cut “waste,” a sprinkle of clear embossing powder, and a quick heat set later… hello subtle shine and texture! It gives that soft leafy background a raised, almost ghosted look that catches the light. It is a tricky one to photograph as my phone camera is finding it hard to focus on that embossed outline. It keeps wanting to focus on the darker sentiment piece.
I added a soft Bubble Bath blend over the embossing to define the halo effect, and then a splatter of Bubble Bath ink to give it some added texture.
Here is my step by step process:
- The card base is Bubble Bath card … a standard C6 (or A2 Card in Imperial), folded and portrait mode.
- Cut a panel of Designer Series Paper (a soft Bubble Bath from the Subtles 6″ x 6″ Designer Series Paper) … 10 cm x 14.3 cm (4″ x 5-1/4″). Adhere to card front.
- Stamp the leafy foliage image from Nature’s Symphony with Bubble Bath ink to the centre of a panel of Basic White card 9.5 cm x 13.8 cm (3-3/4″ x 5″).
- Place the waste piece from die cutting the leafy foliage from the Nature’s Symphony dies over the stamped image (I kept a waste piece from another project). Apply Versamark Ink through the waste with a sponge dauber. Remove the mask and apply clear embossing powder to the image. Heat until melted. At this point, you can’t really see anything except a little bit of shine.
- Apply Bubble Bath ink over the embossing with a Blending Brush to define the edges of the embossing. The embossing will resist the ink. Polish off with a soft cloth afterwards.
- Splatter the piece with a drop of ink refill mixed with water on a non-porous surface (I use a clear block).
- Adhere panel to DSP layer.
For the sentiment:
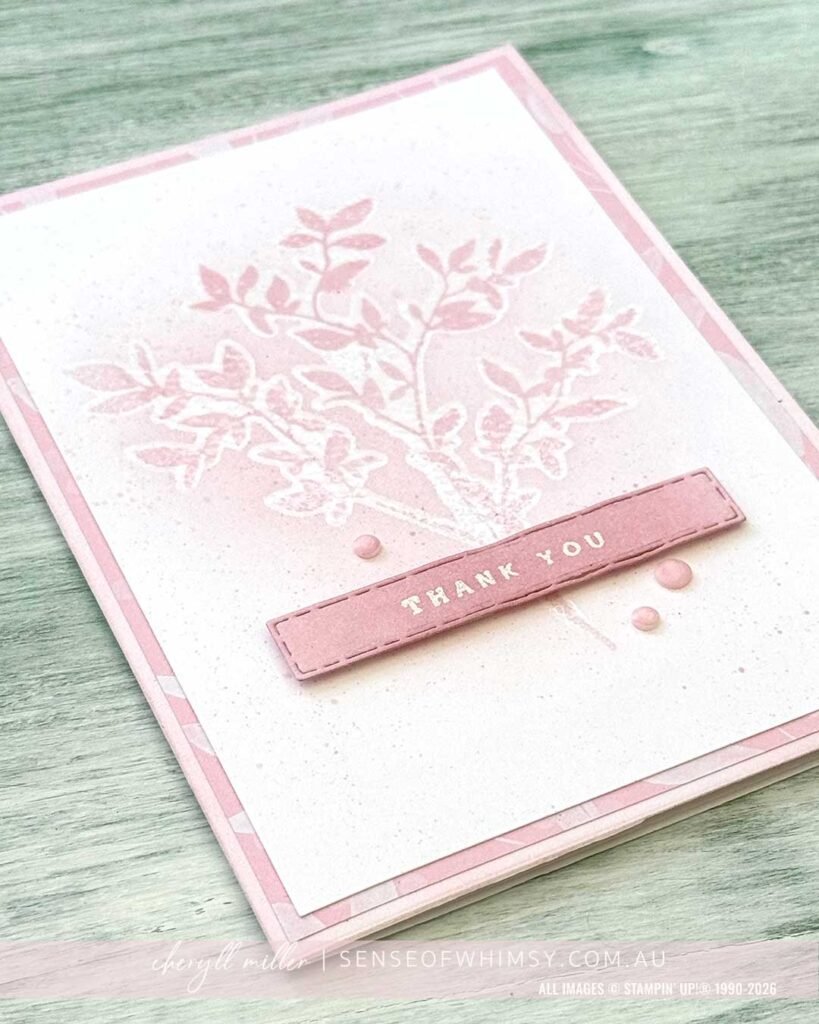
- White heat emboss small sentiment onto a scrap of Bubble Bath card (I used Thank You from Nature’s Symphony stamp set, keeping it small won’t overpower the soft delicacy of the Bubble Bath foliage).
- Use a suitable die to cut it out. I used the Textured Notes Dies. It has a great long, thin die, which can be cut down to make it suitable for any smallish, one line sentiment.
- I did add some extra Bubble Bath ink over the embossed sentiment to make it stand out a bit better (I used a small Blending Brush).
- The sentiment is adhered with Mini Stampin’ Dimensionals over the stem of the leafy foliage.
Final Step:
- Add some Bubble Bath adhesive embellishments … I didn’t have any, so I coloured up some of the white Neutral Matte Dots with my Dark Bubble Bath Stampin’ Blend. Perfect!!!
If you would like to see loads of Bubble Bath inspiration, hop on over to my Instagram page, look for the post at the top of my grid and then follow the Instahop tags all the way through.
xx Cheryll
Shop Online Exclusives (items not in a catalogue): CLICK HERE!
Request a printed catalogue: CLICK HERE!
Join Stampin’ Up!® to get a 20% discount on your crafting purchases. CLICK HERE!
Subscribe to my newsletter to keep up to date with the latest news: CLICK HERE!
Weekly Videos uploaded on my YouTube Channel: CLICK HERE!
If you would like to stay in touch via Facebook: CLICK HERE!
Follow me on Instagram: CLICK HERE!
![Nature's Symphony Bundle (English) [ 166926 ]](https://assets1.tamsnetwork.com/images/EC042017NF/166926s.jpg "Nature's Symphony Bundle (English) [ 166926 ]") | ![Textured Notes Bundle (English) [ 165556 ]](https://assets1.tamsnetwork.com/images/EC042017NF/165556s.jpg "Textured Notes Bundle (English) [ 165556 ]") | ![Bubble Bath A4 Cardstock [ 161727 ]](https://assets1.tamsnetwork.com/images/EC042017NF/161727s.jpg "Bubble Bath A4 Cardstock [ 161727 ]") | ![Basic White A4 Cardstock [ 166781 ]](https://assets1.tamsnetwork.com/images/EC042017NF/166781s.jpg "Basic White A4 Cardstock [ 166781 ]") | |
![Bubble Bath Classic Stampin' Pad [ 161664 ]](https://assets1.tamsnetwork.com/images/EC042017NF/161664s.jpg "Bubble Bath Classic Stampin' Pad [ 161664 ]") | ![Neutral Matte Dots [ 165561 ]](https://assets1.tamsnetwork.com/images/EC042017NF/165561s.jpg "Neutral Matte Dots [ 165561 ]") | ![Versamark Pad [ 102283 ]](https://assets1.tamsnetwork.com/images/EC042017NF/102283s.jpg "Versamark Pad [ 102283 ]") | ![Basics Wow! Embossing Powder [ 165679 ]](https://assets1.tamsnetwork.com/images/EC042017NF/165679s.jpg "Basics Wow! Embossing Powder [ 165679 ]") | |
![Embossing Additions Tool Kit [ 159971 ]](https://assets1.tamsnetwork.com/images/EC042017NF/159971s.jpg "Embossing Additions Tool Kit [ 159971 ]") | ![Sponge Daubers [ 133773 ]](https://assets1.tamsnetwork.com/images/EC042017NF/133773s.jpg "Sponge Daubers [ 133773 ]") | ![Blending Brushes [ 153611 ]](https://assets1.tamsnetwork.com/images/EC042017NF/153611s.jpg "Blending Brushes [ 153611 ]") |
![Subtles 6" X 6" (15.2 X 15.2 Cm) Designer Series Paper [ 165306 ]](https://assets1.tamsnetwork.com/images/EC042017NF/165306s.jpg "Subtles 6\" X 6\" (15.2 X 15.2 Cm) Designer Series Paper [ 165306 ]")
![Bubble Bath Stampin’ Blends Combo Pack [ 161675 ]](https://assets1.tamsnetwork.com/images/EC042017NF/161675s.jpg "Bubble Bath Stampin’ Blends Combo Pack [ 161675 ]")
Redeem your Bonus Days coupons

Nature Walk Video Tutorial Bundle
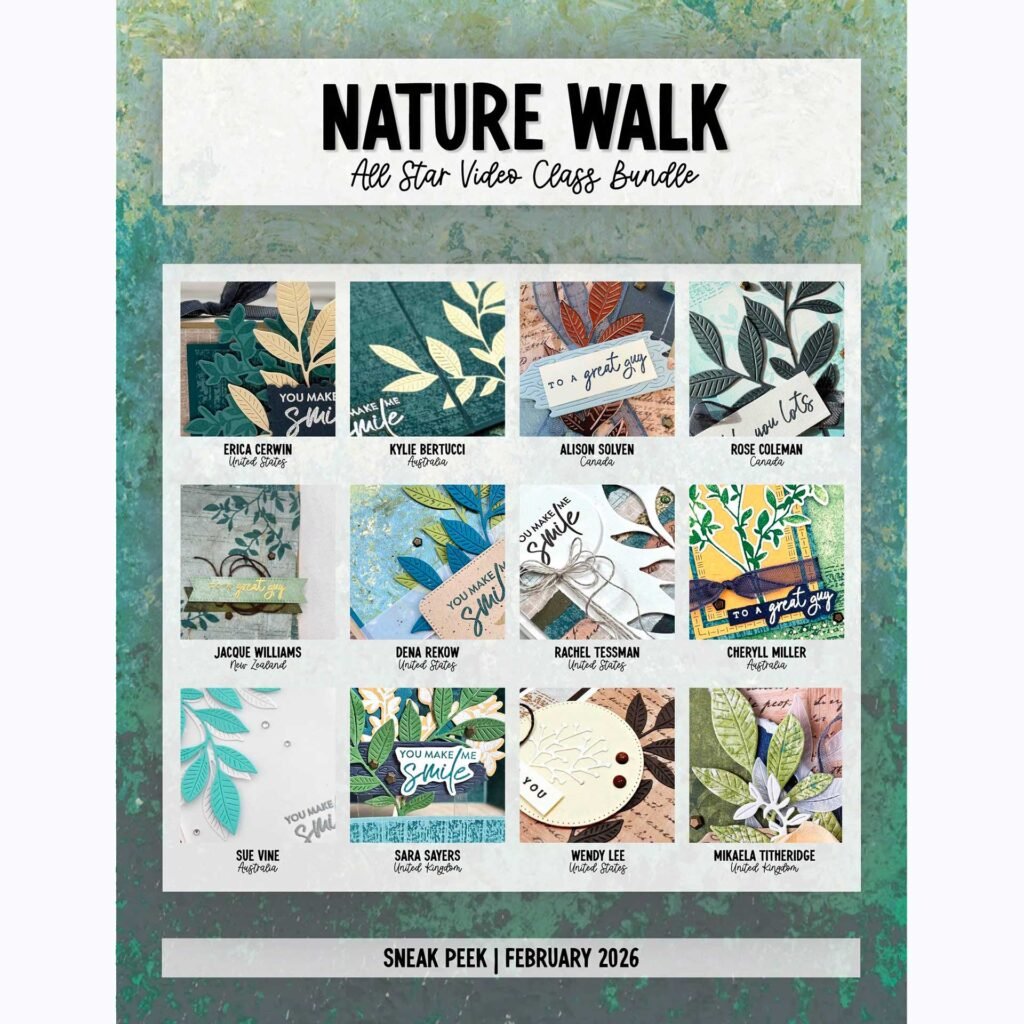
If you love the Nature Walk Suite of Products and want a great resource to get the most out of it, the All Star Design Team Video Class Bundle is for you.
It’s and instant PDF download, with measurements in both Metric (for A4 Cardstock) and Imperial (for Letter sized Cardstock), full supply lists and cutting measurements and a video for each of the 12 projects … from fabulous Stampin’ Up! demonstrators from around the world.